TensorflowSudoku
TensorflowSudoku
The most recent version of the code is in the file Main.py, NOT the Jupyter Notebook.
Disclaimer
This code is based on the code from the following github project: https://github.com/shivaverma/Sudoku-Solver
While using his code as a general outline, I have added my own take on each part of the code. My additions/changes to the code was as follows:
Tensorboard to track and graph the loss over each epoch
Loading/progress bar for the processing of data
Randomization of order of input data
Saving the model using checkpoints
Testing out different model parameters
Changing how the model was trained (optimizers, crossvalidation, etc.)
Modifications to the final prediction of a board’s solution
Added ability to use GPU for training
Set-up
- Set up tensorflow (and download the correct version of python) using these instructions.
- If you have a compatable GPU with CUDA cores, follow the guide here.
- Clone this project from Github.
- Create a spreadsheet of 2 columns A,B, where A1 is a cell with the value “quizzes” and B1 has the value “solutions”. In all following lines, the cell in column A will be a string of 0-9s (where 0 represents an empty square) of the unsolved sudoku and the cell in column B will be a string of 1-9s representing the solution to the sudoku in the corresponding cell in column A. Now, export this as a csv entited ‘sudoku.csv’ and place it in a newly created folder called ‘data’ in the main directory for this project.
- If it is your first time running this, comment out line 85 in Main.py which is
model.load_weights('./checkpoint/latest_checkpoint'). Uncomment this for future runs if you want future runs to further optimize your previous model. - If you only want to train in a fraction of your dataset, lets say 1/x, then set the variable fraction_used on line 43 in Main.py to the value of x that you want.
Additional comments
I also added a method of visualizing the training progress and used this to find that the best way to train is to start with Adam as the optimizer, and then use SGD. There is a part of the code where you uncomment to create a new model and another part where you can uncomment to instead load up a previously trained model. This allows for the use of two different optimizers in seperate runs of the code.
This code heavily uses numpy and Tensorflow packages for Python.
One of the key ideas is that I would use each step not to guess the entire board, but to put in any guesses that the algorithm outputs as 100% confident, as well as the highest confidence guess and feed this new board back into the neural network. This means that, although the test accuracy may say something like 80%, if we only use its most confident guesses, and then feed the new board back into the neural network, it is able to reach much higher actual accuracies. Most boards that are solved using this step by step method have between 0-4 mistakes in the final board.
Also, through extensive testing, I have found that using a kernel size of 3x3 for the first layer is the most effective, as it is able to capture the logic that each of the smaller 3x3 boxes can contain at most one of each digit. The other two layers have kernel size 3x3 and 1x1 because it appears to be optimal for testing accuracy, although I cannot find a convincing logical reason why it is the case.
I used Tensorboard for the following visualization:
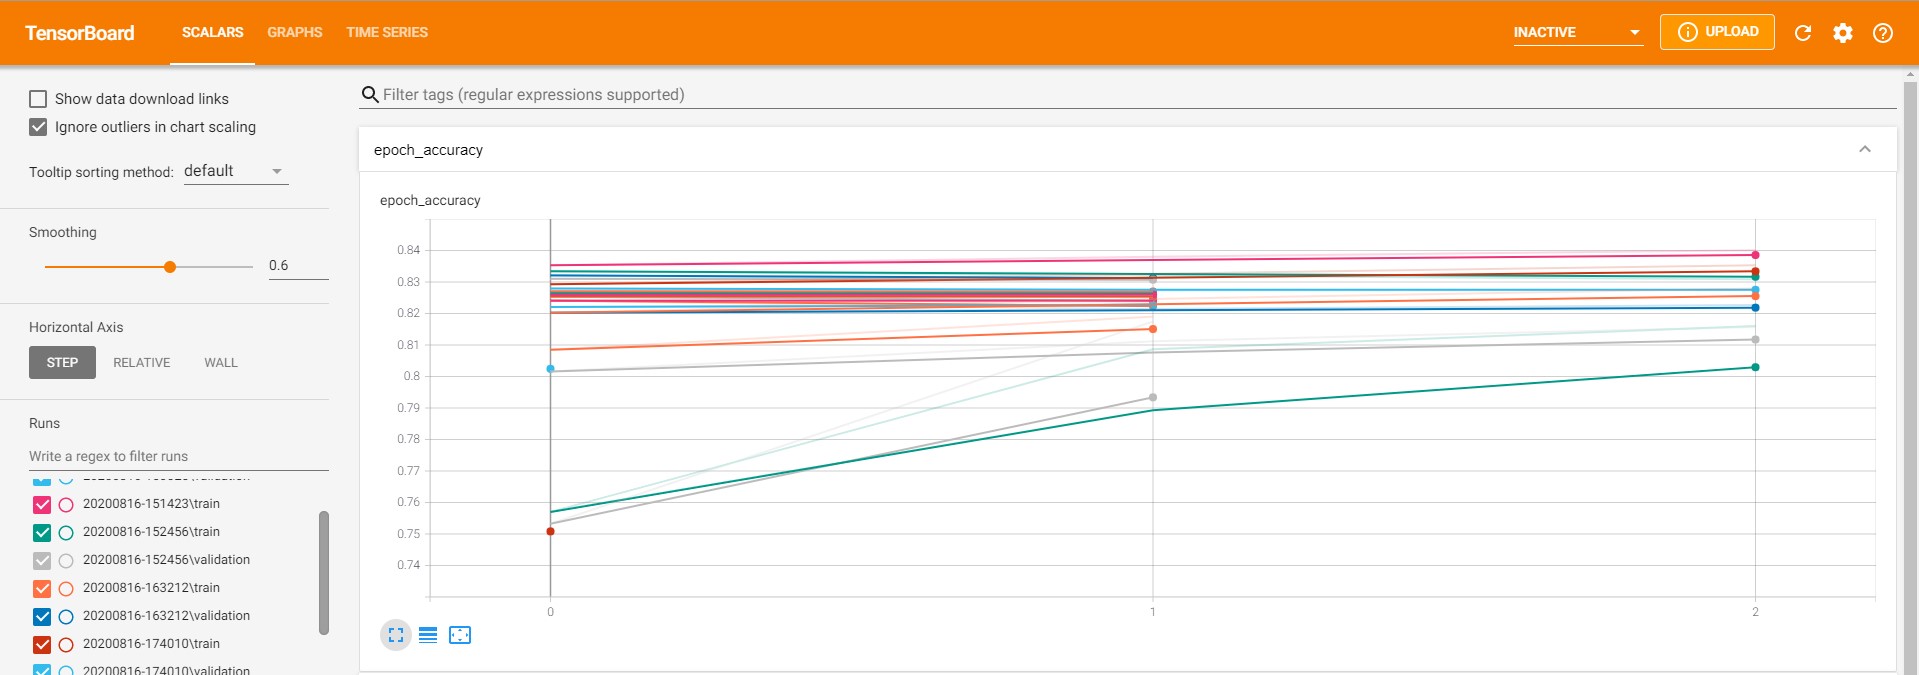
Recently, I added compatability for running it with GPU, which I have tested on my pretty entry-level 1660 Super. As well, I added a test at the end to see the rate at which it can solve sudokus correctly using the step-by-step procedure, for which it is able to do so at 100% accuracy on most batches of 100 random tests, dipping at most to 95%.